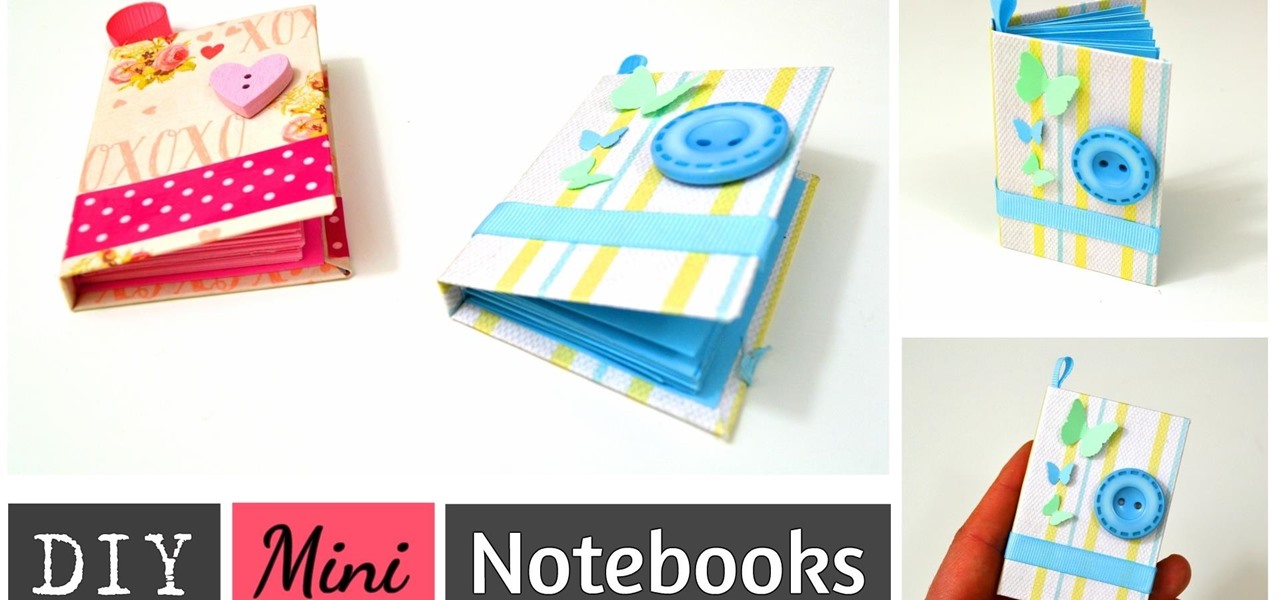

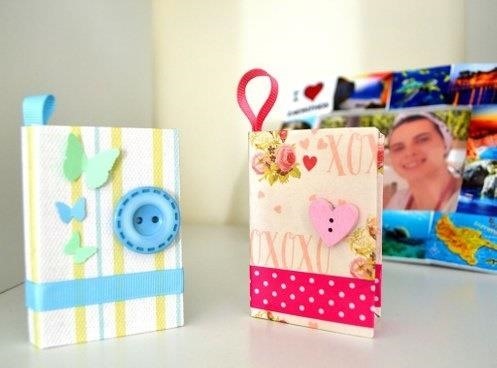
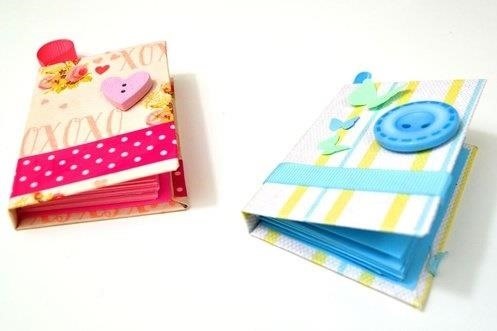
Hello crafters! :) In this project I'm going to show you how to make this cute mini notebooks that you can use them as key rings or as simple pocked sized notebooks :D They are very easy to do! Hope you'll love them ( please leave your thoughts in the comments section ) !
Step 1: Video Tutorial (For a Better Understanding of the Project)
For some people it's easier to watch a video than following step by step photos.
So if you are one of them I hope that this video will help you !
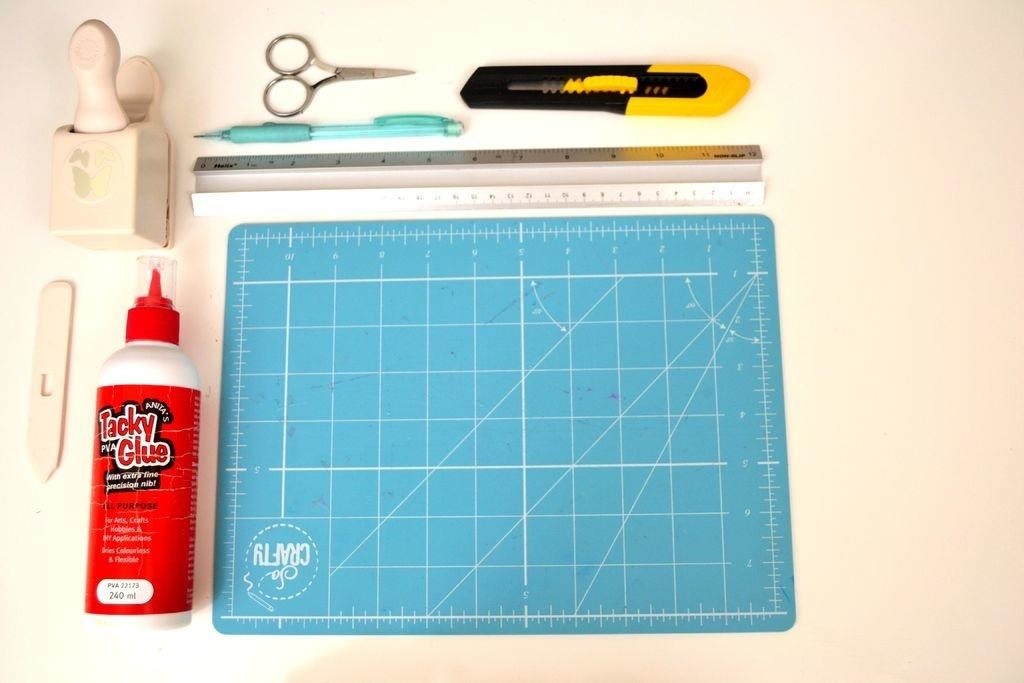
Step 2: Gather Your Tools and Supplies
Tools you'll need:
Cutting mat
Cutter
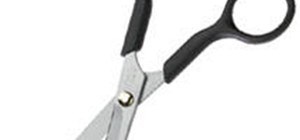
Scissor
Butterfly Puncher
Pencil
Ruller
Bone Folder
Supplies you'll need:
PVA Glue
Glue dots
Double Adhesive tape
Ribbon
Scraps of paper
Scraps of decorative paper
Scraps of cardboard
Buttons
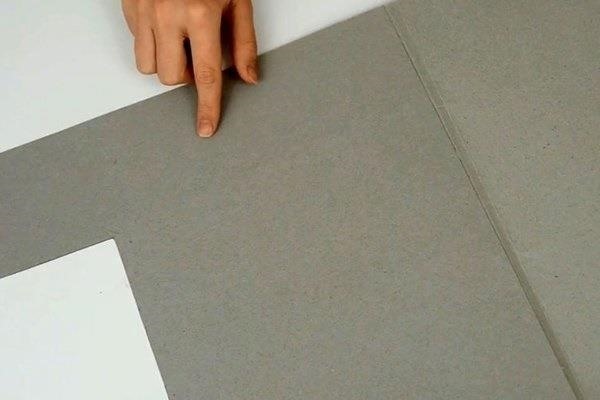
Step 3: Preparing the Pieces for the Cover
Choose your desired model of decorative paper and cut a rectangle from it ( 4" X 5" 1/4 ).
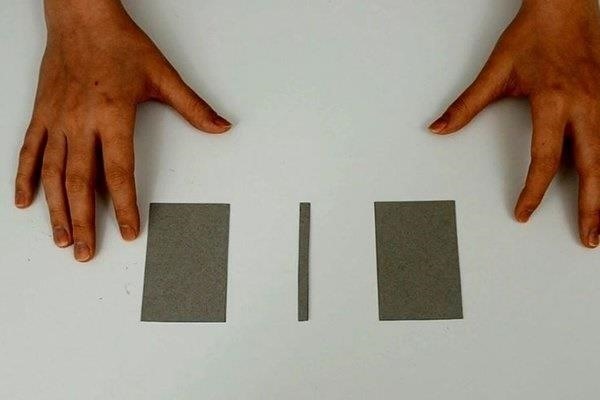
Then take some unused cardboard ( I used the back side cover of a decorative paper pack ) and cut 2 rectangles ( 3" X 2" ) and another one ( 3" X 1/4 )
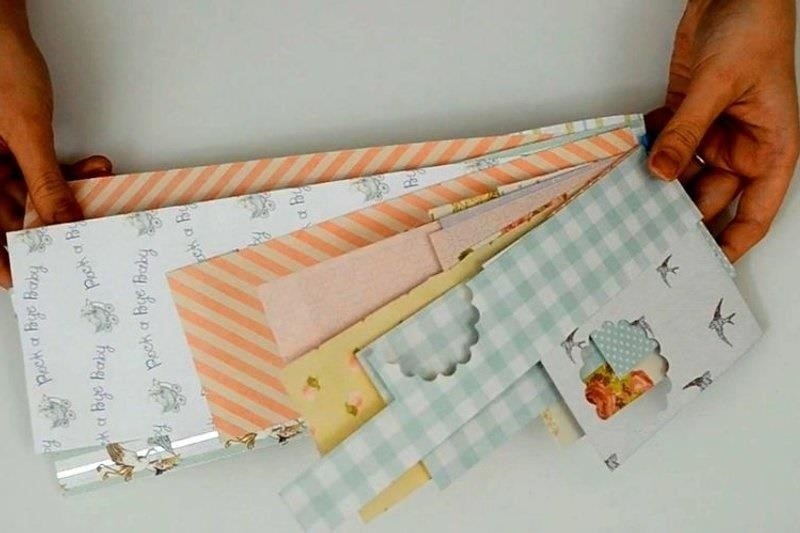

Step 4: Preparing the Pieces for the Inside of the Notebook
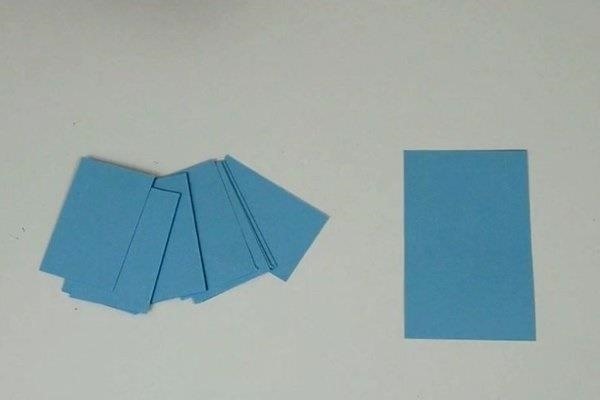
Using some solid colored paper cut 20 - 25 rectangles ( 2" 3/4 X 2" ) and another rectangle ( 4" 1/4 X 2" 3/4 )

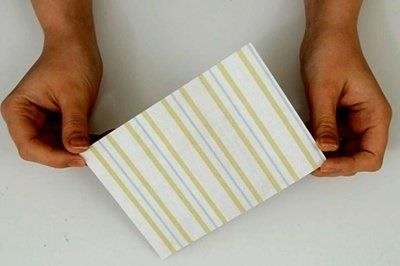
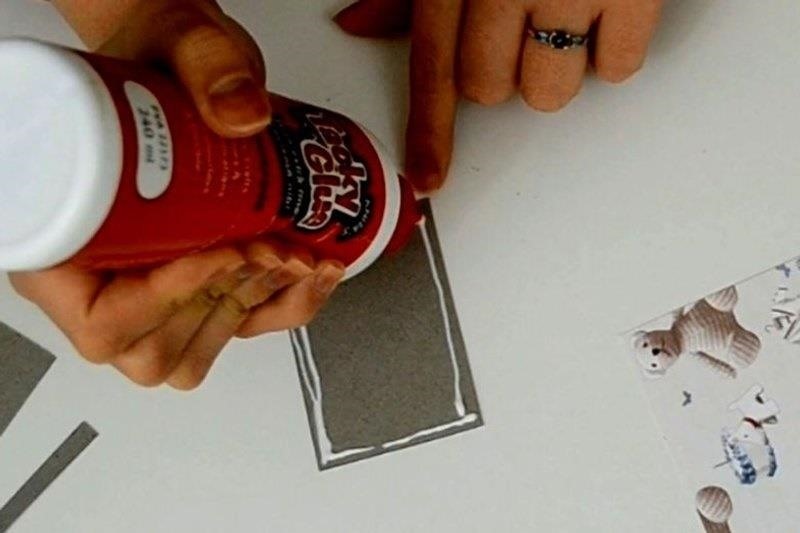
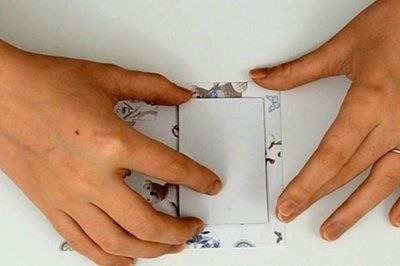
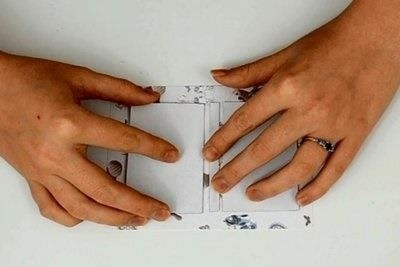
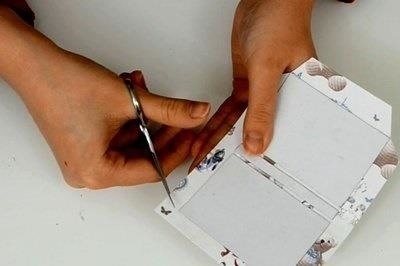
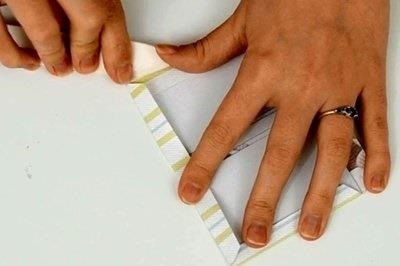
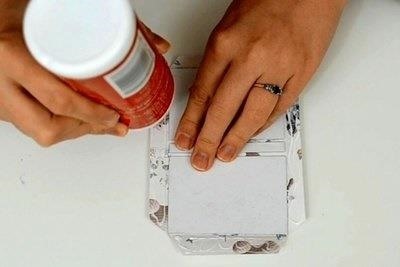
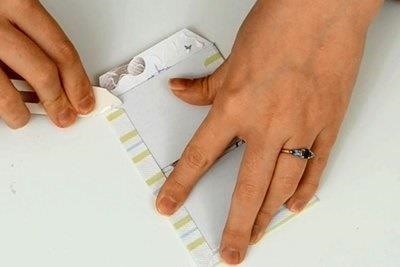
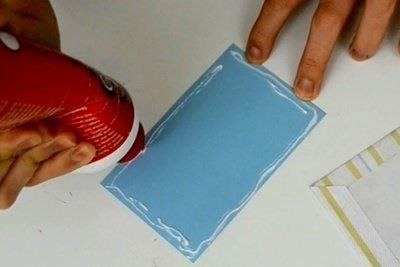
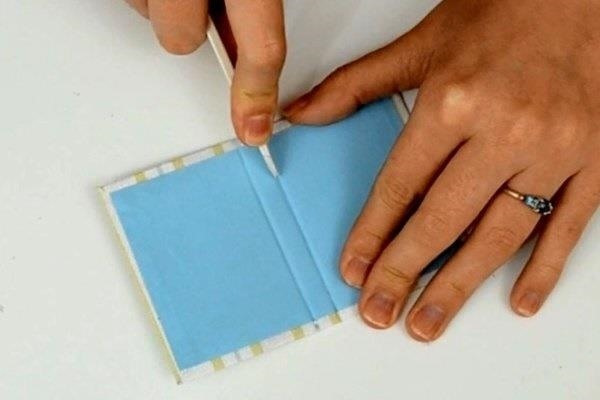
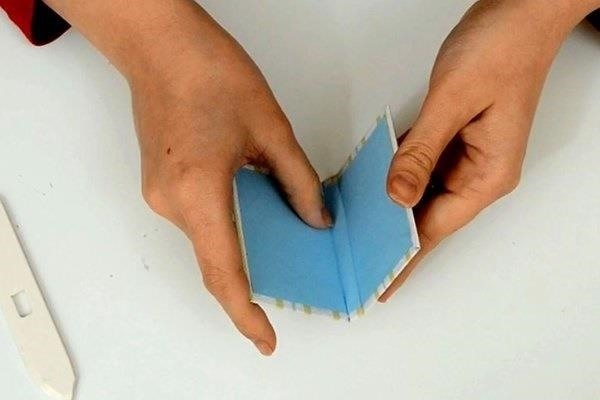
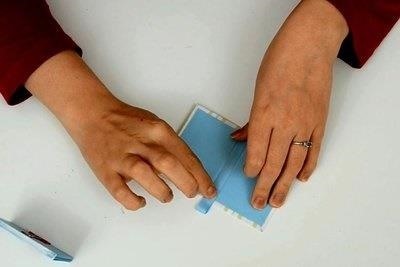
Step 5: Making the Cover
Using PVA glue stick the cardboard rectangles on the design paper rectangle leaving an eight of an inch between them.
Cut the corners of the design paper.
Fold and stick the sides.
Stick the colored rectangle ( 4" 1/4 X 2" 3/4 ) on top of it.
With a bone folder score between the cardboard rectangles.
Fold it along the lines.

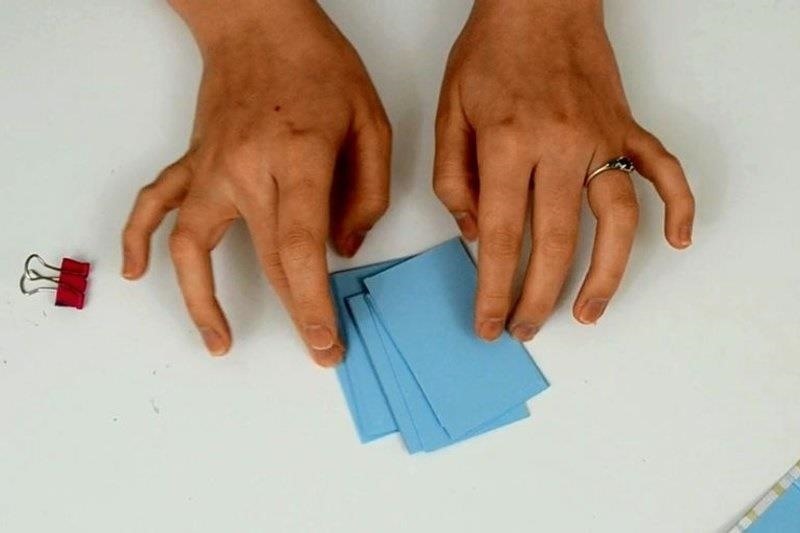
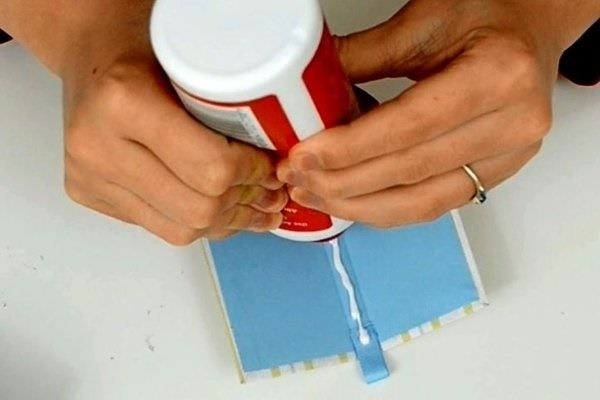
Step 6: Making the Pages
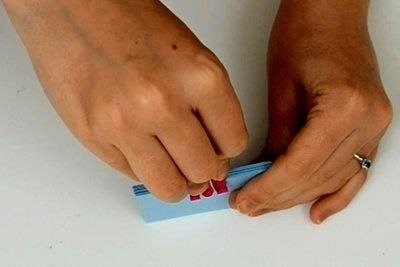
Align all the pages and hold them together using a paper clip.
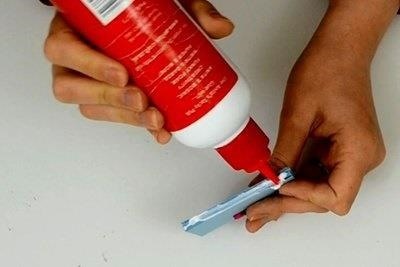
On one of the long sides apply a generous layer of PVA glue.
Let it dry for about 5 minutes until the glue become transparent.
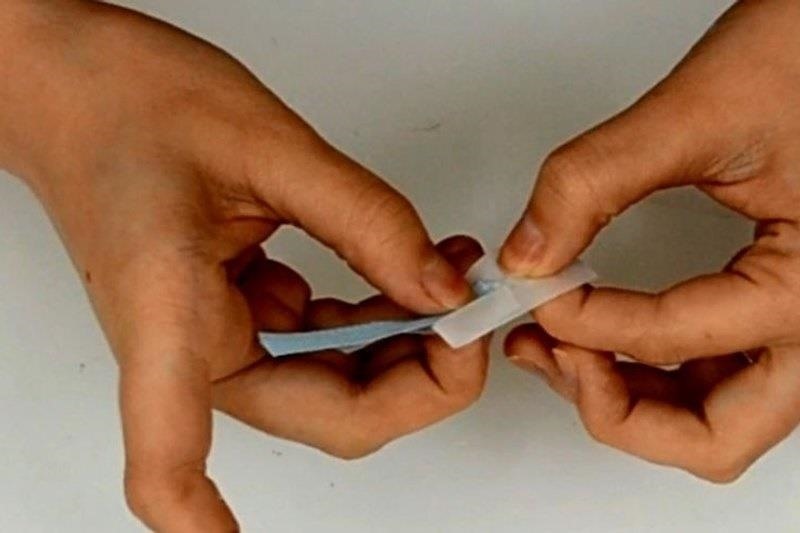
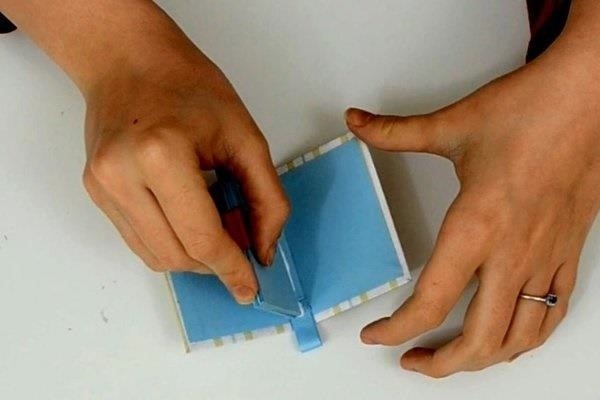
Step 7: Assembling the Notebook
While the pages are drying, create a small ribbon loop and stick it on the inside of the cover.
After that, stick the pages.
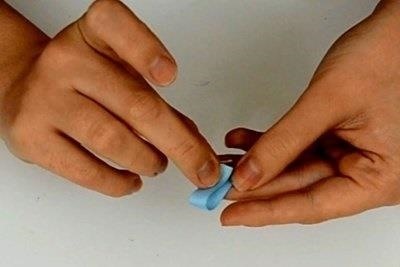
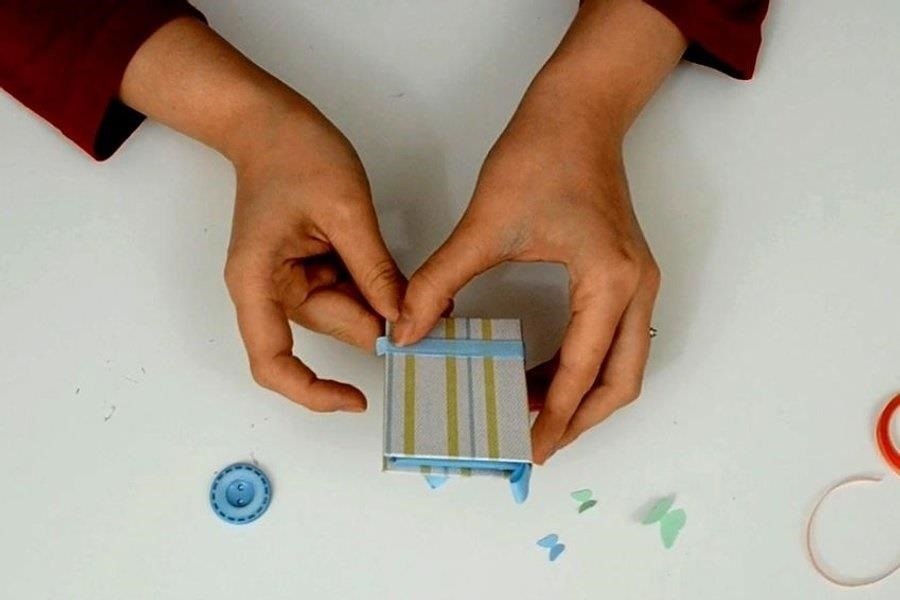
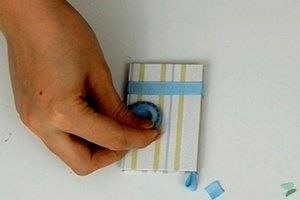
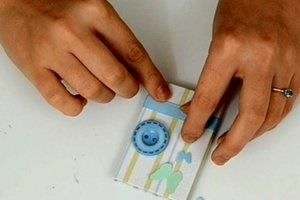
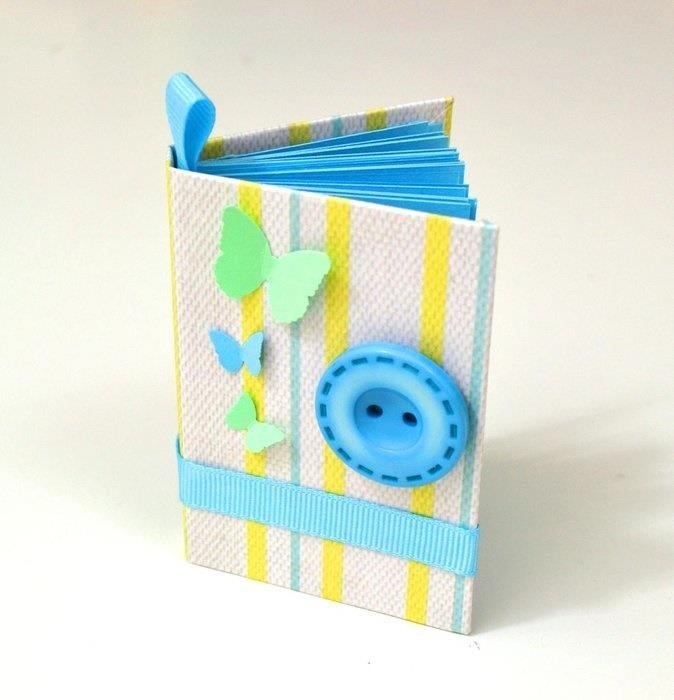
Step 8: Decorating It!
Using some adhesive tape stick a strip of ribbon on the bottom of the notebook.
Now, add a decorative button.
Lastly, add some nice paper butterflies.

Step 9: That's It!
Now you know how to make this cute little gems :D Write me your comments about this project and if it helped you in any way please vote for me in the Pocket - Sized and the Trash to Treasure contests!
Thanks you :)


Be the First to Respond
Share Your Thoughts